If you’ve experienced water damage in your home or office, it’s crucial to act quickly and efficiently to prevent further harm and restore the affected area. Cleaning up a water-damaged space can be a daunting task, but with the right knowledge and approach, you can tackle it effectively.
In this article, we will guide you through the proper steps to clean a water-damaged area. You’ll learn how to assess the extent of the damage, remove standing water, dry and dehumidify the area, and clean and disinfect surfaces. Additionally, we’ll share helpful tips to prevent future water damage and protect your property.
By following these instructions, you’ll be able to restore your space and minimize the potential for mold growth and structural issues. So let’s get started on restoring your water-damaged area to its former glory.
Assessing the Extent of the Damage
To properly clean a water-damaged area, you should begin by assessing the extent of the damage to ensure an effective restoration process.
Start by carefully examining the affected area, checking for visible signs of water damage such as discoloration, warping, or peeling paint.
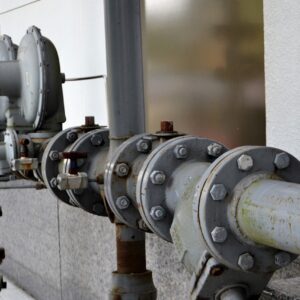
Use a moisture meter to detect hidden moisture levels within the walls, floors, and ceilings. It’s crucial to identify the source of the water damage, whether it’s a leaking pipe, a faulty appliance, or a natural disaster, as this’ll help prevent future issues.
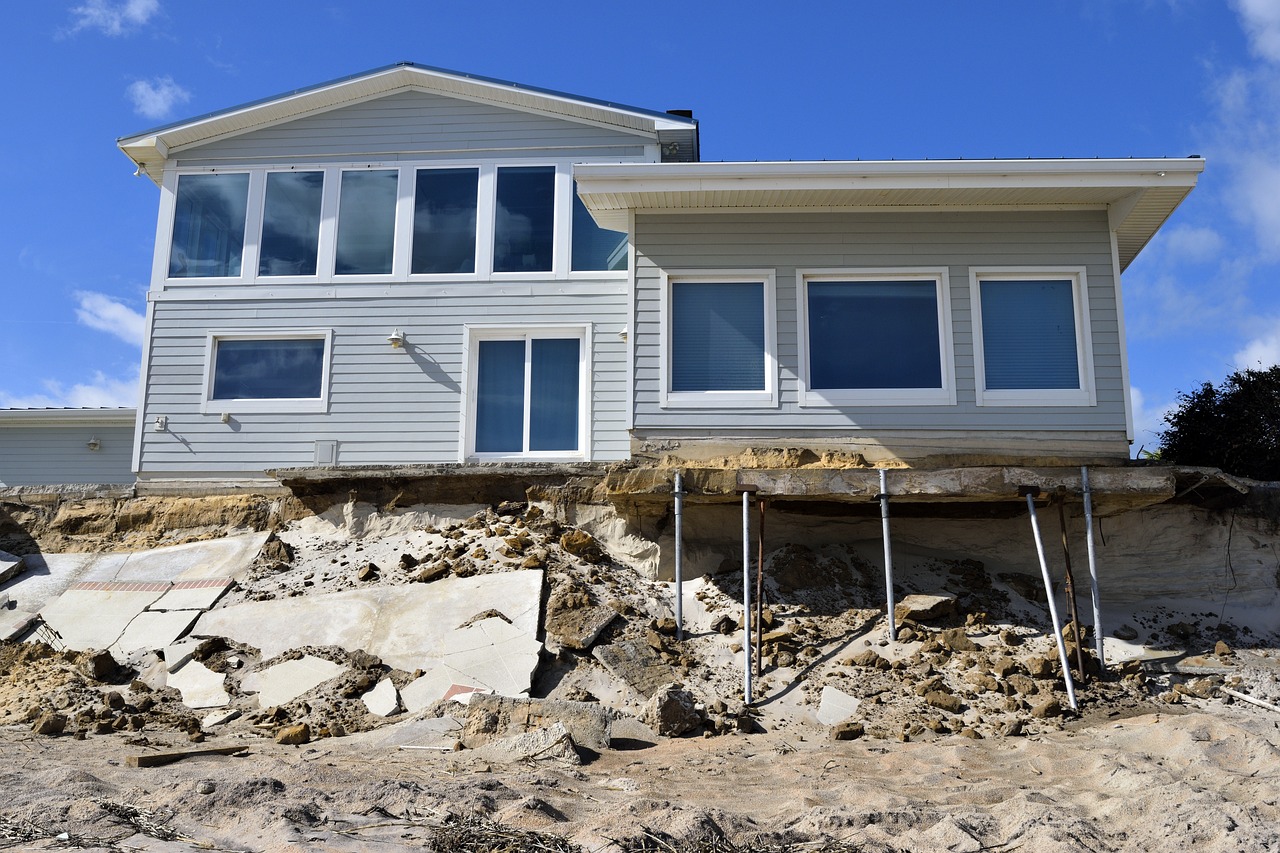
Take note of any structural damage or mold growth, as these may require professional intervention.
Additionally, document the damage with photographs and notes for insurance purposes.
By thoroughly assessing the extent of the damage, you can develop a comprehensive plan to effectively clean and restore the water-damaged area.
Removing Standing Water
First, start by getting rid of any excess water that’s still present. The longer water sits, the more damage it can cause, so it’s important to remove it as soon as possible. Use a wet/dry vacuum or a pump to extract the water from the affected area.
Begin by vacuuming up as much water as you can, focusing on the lower areas where water tends to accumulate. Make sure to empty the vacuum or pump frequently to prevent it from overflowing. If there’s a large amount of water, you may need to use buckets or a sump pump to remove it.
Once the standing water is removed, use towels, mops, or a squeegee to soak up any remaining moisture.
Drying and Dehumidifying the Area
Once you’ve removed the standing water, it’s time to make sure the area is thoroughly dried and dehumidified to prevent any further damage.
Start by opening windows and doors to promote air circulation. If possible, use fans to increase airflow and speed up the drying process. Additionally, a dehumidifier can help remove excess moisture from the air. Be sure to empty the water reservoir regularly to prevent overflow.
Check for hidden pockets of moisture in walls or under flooring by using a moisture meter. If high levels of moisture are detected, consider using a professional-grade dehumidifier.
It’s important to continue drying the area for at least 48 hours, or until moisture levels return to normal. Remember, proper drying and dehumidification are crucial to prevent mold growth and further damage to the water-damaged area.
Cleaning and Disinfecting Surfaces
Make sure you give those surfaces a good scrubbing and disinfecting to get rid of any lingering germs or bacteria. Start by removing any visible dirt or debris with a damp cloth or sponge.
Then, prepare a solution of one part bleach to ten parts water and use it to wipe down the affected surfaces. Pay special attention to areas that were in direct contact with the water, such as floors, walls, and furniture. Use a scrub brush or sponge to thoroughly clean the surfaces, making sure to reach into any crevices or corners.

After cleaning, rinse the surfaces with clean water and allow them to air dry. This will help eliminate any remaining bacteria and prevent mold growth. Remember to wear protective gloves and ensure good ventilation while cleaning.
Preventing Future Water Damage
To ensure your space remains safe and free from future water damage, it’s vital to take proactive steps in maintaining a dry and well-ventilated environment.
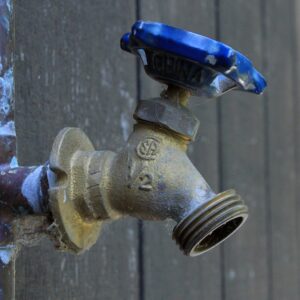
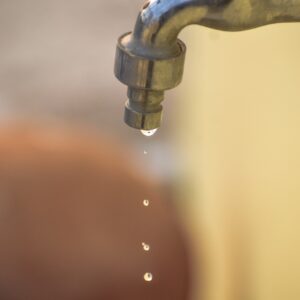
First, identify and fix any leaks or sources of water intrusion. Check pipes, faucets, and windows for any signs of leakage and address them immediately.
Install a sump pump in your basement or low-lying areas to prevent water accumulation.
Regularly inspect and clean gutters and downspouts to ensure proper drainage.
Consider landscaping around your property to slope away from the foundation, preventing water from pooling near your home.
Additionally, make sure your home is adequately insulated to prevent condensation and humidity buildup.
Finally, invest in a dehumidifier to control moisture levels and promote a dry environment.
By following these preventive measures, you can significantly reduce the risk of future water damage.
Conclusion
In conclusion, you’ve successfully learned how to properly clean a water-damaged area. By assessing the extent of the damage, removing standing water, drying and dehumidifying the area, and cleaning and disinfecting surfaces, you can restore your space back to its pre-damaged condition.
Remember to take proactive measures to prevent future water damage, such as fixing leaks and maintaining proper drainage. With these steps, you can ensure a clean and safe environment for yourself and others.